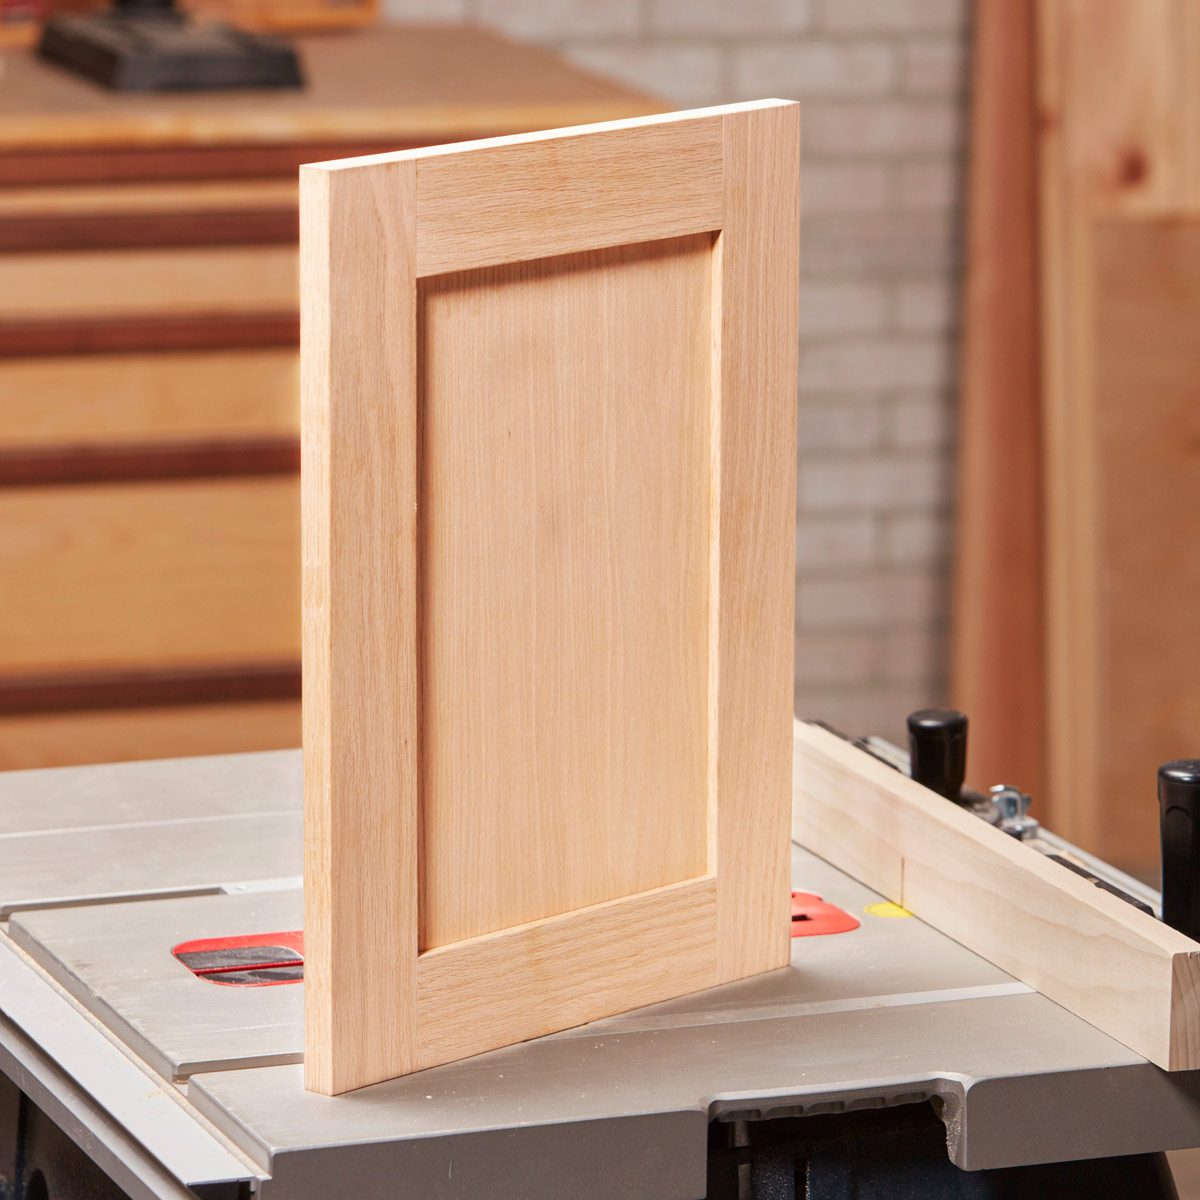
The safe and secure storage of firearms is of paramount importance, and a well-constructed gun cabinet is an essential element in achieving this goal. This guide will provide you with the necessary information and steps to build a sturdy and aesthetically pleasing wooden gun cabinet with hinged doors.
Materials and Tools:
Lumber:
Cabinet Sides and Back: 3/4" thick plywood or solid wood (e.g., oak, maple, cherry)
Cabinet Bottom: 3/4" thick plywood or solid wood
Shelf: 3/4" thick plywood or solid wood (optional)
Door: 1/2" thick plywood or solid wood
Door Frame: 1" x 2" lumber
Door Stops: 1/2" thick solid wood
Hardware:
Hinges: 3" or 4" heavy-duty hinges (2 per door)
Door Lock: Keyed lock or combination lock
Door Handle: Suitable door handle
Cabinet Feet: Casters, leveling feet, or decorative legs
Screws: Wood screws in various lengths
Wood Glue: Waterproof wood glue
Finish: Stain, paint, or clear sealant
Tools:
Circular Saw or Table Saw: For cutting wood to size
Miter Saw: For making precise cuts for frame pieces
Drill: For drilling pilot holes and attaching hardware
Screwdriver: For attaching screws
Clamps: For holding pieces together during glue-up
Measuring Tape and Pencil: For marking and measuring
Level: For ensuring even and level construction
Sandpaper: For smoothing surfaces and edges
Safety Glasses and Dust Mask: For protecting yourself from dust and debris
Step-by-Step Instructions:
1. Design and Planning:
Determine the Dimensions: Measure the space where you intend to place the cabinet and consider the number of firearms you wish to store. Decide on the desired height, width, and depth of the cabinet.
Create a Sketch: Draw a simple sketch of the cabinet, including the dimensions of the sides, back, bottom, shelves (if applicable), door, and frame.
Choose a Style: Select a style for your cabinet. Consider a classic design, a modern minimalist aesthetic, or a rustic look.
2. Cutting the Wood:
Sides and Back: Cut the side pieces and the back piece to the desired length and height using a circular saw or table saw.
Bottom: Cut the bottom piece to the desired width and depth.
Shelf: If you are building shelves, cut the shelf piece to the desired width and depth.
Door: Cut the door piece to the desired width and height.
Door Frame: Cut the door frame pieces using a miter saw to create a precise 45-degree angle for the corners.
3. Assembly:
Frame the Cabinet: Assemble the frame of the cabinet using the side pieces and back piece. Secure the joints with wood glue and screws.
Attach the Bottom: Attach the bottom piece to the bottom of the cabinet frame, ensuring that it is flush with the sides.
Install Shelves (Optional): If you are building shelves, attach them to the inside of the cabinet frame at the desired height.
Assemble the Door Frame: Assemble the door frame pieces, ensuring that the corners are securely joined using wood glue and screws.
4. Attaching the Door:
Install Hinges: Attach the hinges to the door frame and the cabinet side pieces. Use a drill and screws to secure the hinges.
Align the Door: Attach the door to the hinges, ensuring that it is level and centered on the cabinet opening.
Install the Door Stop: Cut a door stop from 1/2" solid wood and attach it to the inside of the cabinet frame to prevent the door from swinging too far open.
5. Installing the Lock and Handle:
Choose a Lock: Select a suitable lock, such as a keyed lock or a combination lock, and drill a hole for the lock in the door.
Attach the Handle: Attach the door handle to the door, ensuring that it is centered and securely fastened.
6. Finishing the Cabinet:
Sanding: Sand all surfaces of the cabinet and door to create a smooth finish. Use progressively finer grit sandpaper.
Applying Finish: Apply your chosen finish to the cabinet and door. This can be stain, paint, or a clear sealant. Ensure that the finish is applied evenly and allowed to dry completely.
Install the Cabinet Feet: Attach the desired cabinet feet to the bottom of the cabinet. This will raise the cabinet off the floor and provide stability.
7. Safety Considerations:
Use safety glasses and a dust mask: Protect your eyes and respiratory system from sawdust and debris.
Secure the Cabinet: Once the cabinet is assembled, secure it to the wall using heavy-duty hardware or a locking mechanism.
Store firearms safely: Ensure that all firearms are unloaded and stored separately from ammunition.
Final Touches and Customization:
Adding a Decorative Element: Consider adding a decorative element to your cabinet, such as a custom carving, a stained glass panel, or an engraved metal plate.
Personalizing the Interior: You can add dividers, shelves, or other accessories to the interior of the cabinet to customize it to your needs.
Conclusion:
By following these steps, you can build a sturdy and attractive wooden gun cabinet that will provide a safe and secure storage solution for your firearms. Remember to prioritize safety throughout the construction process and ensure that the finished cabinet is securely anchored to the wall. Enjoy the pride of building your own custom gun cabinet, and remember to adhere to all local laws and regulations regarding firearm storage.


No comments:
Post a Comment